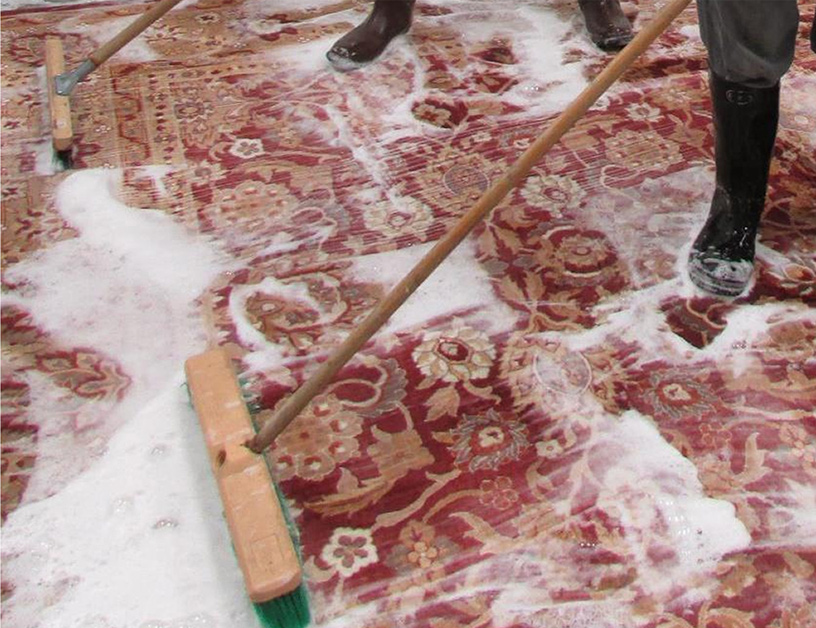
Carpet Cleaning Hong Kong are a beautiful addition to any home or office, but they are susceptible to wear and tear over time. One of the most common issues with carpets is holes and tears, which can be caused by a variety of factors, including heavy foot traffic, pets, and furniture. Fortunately, repairing carpet holes and tears is a relatively simple process that can be done with just a few tools and materials.
In this article, we will go over the steps you need to follow to repair carpet holes and tears, so you can restore your carpet to its original beauty.
Tools and Materials Needed
Before you begin the repair process, you will need a few tools and materials. Here is a list of what you will need:
Carpet patch or remnant
Utility knife
Scissors
Straightedge or ruler
Carpet adhesive
Iron
Ironing board
Towel
Step 1: Cut Out the Damaged Area
The first step in repairing a hole or tear in your carpet is to cut out the damaged area. Use a utility knife to cut along the edges of the hole or tear, creating a square or rectangular shape. Make sure to cut through both the carpet fibers and the backing.
Step 2: Cut a Replacement Patch
Once you have removed the damaged area, it’s time to cut a replacement patch. Use a straightedge or ruler to measure the size of the hole or tear, and then cut a patch from a remnant or spare piece of carpet that is slightly larger than the damaged area.
Step 3: Attach the Replacement Patch
Apply carpet adhesive to the edges of the backing on the replacement patch and the surrounding carpet. Press the replacement patch firmly into place, making sure that the edges are lined up perfectly with the surrounding carpet.
Step 4: Iron the Edges
To ensure that the replacement patch is securely attached to the surrounding carpet, place a towel over the patch and iron the edges for a few seconds. This will activate the adhesive and help it bond with the surrounding carpet fibers.


